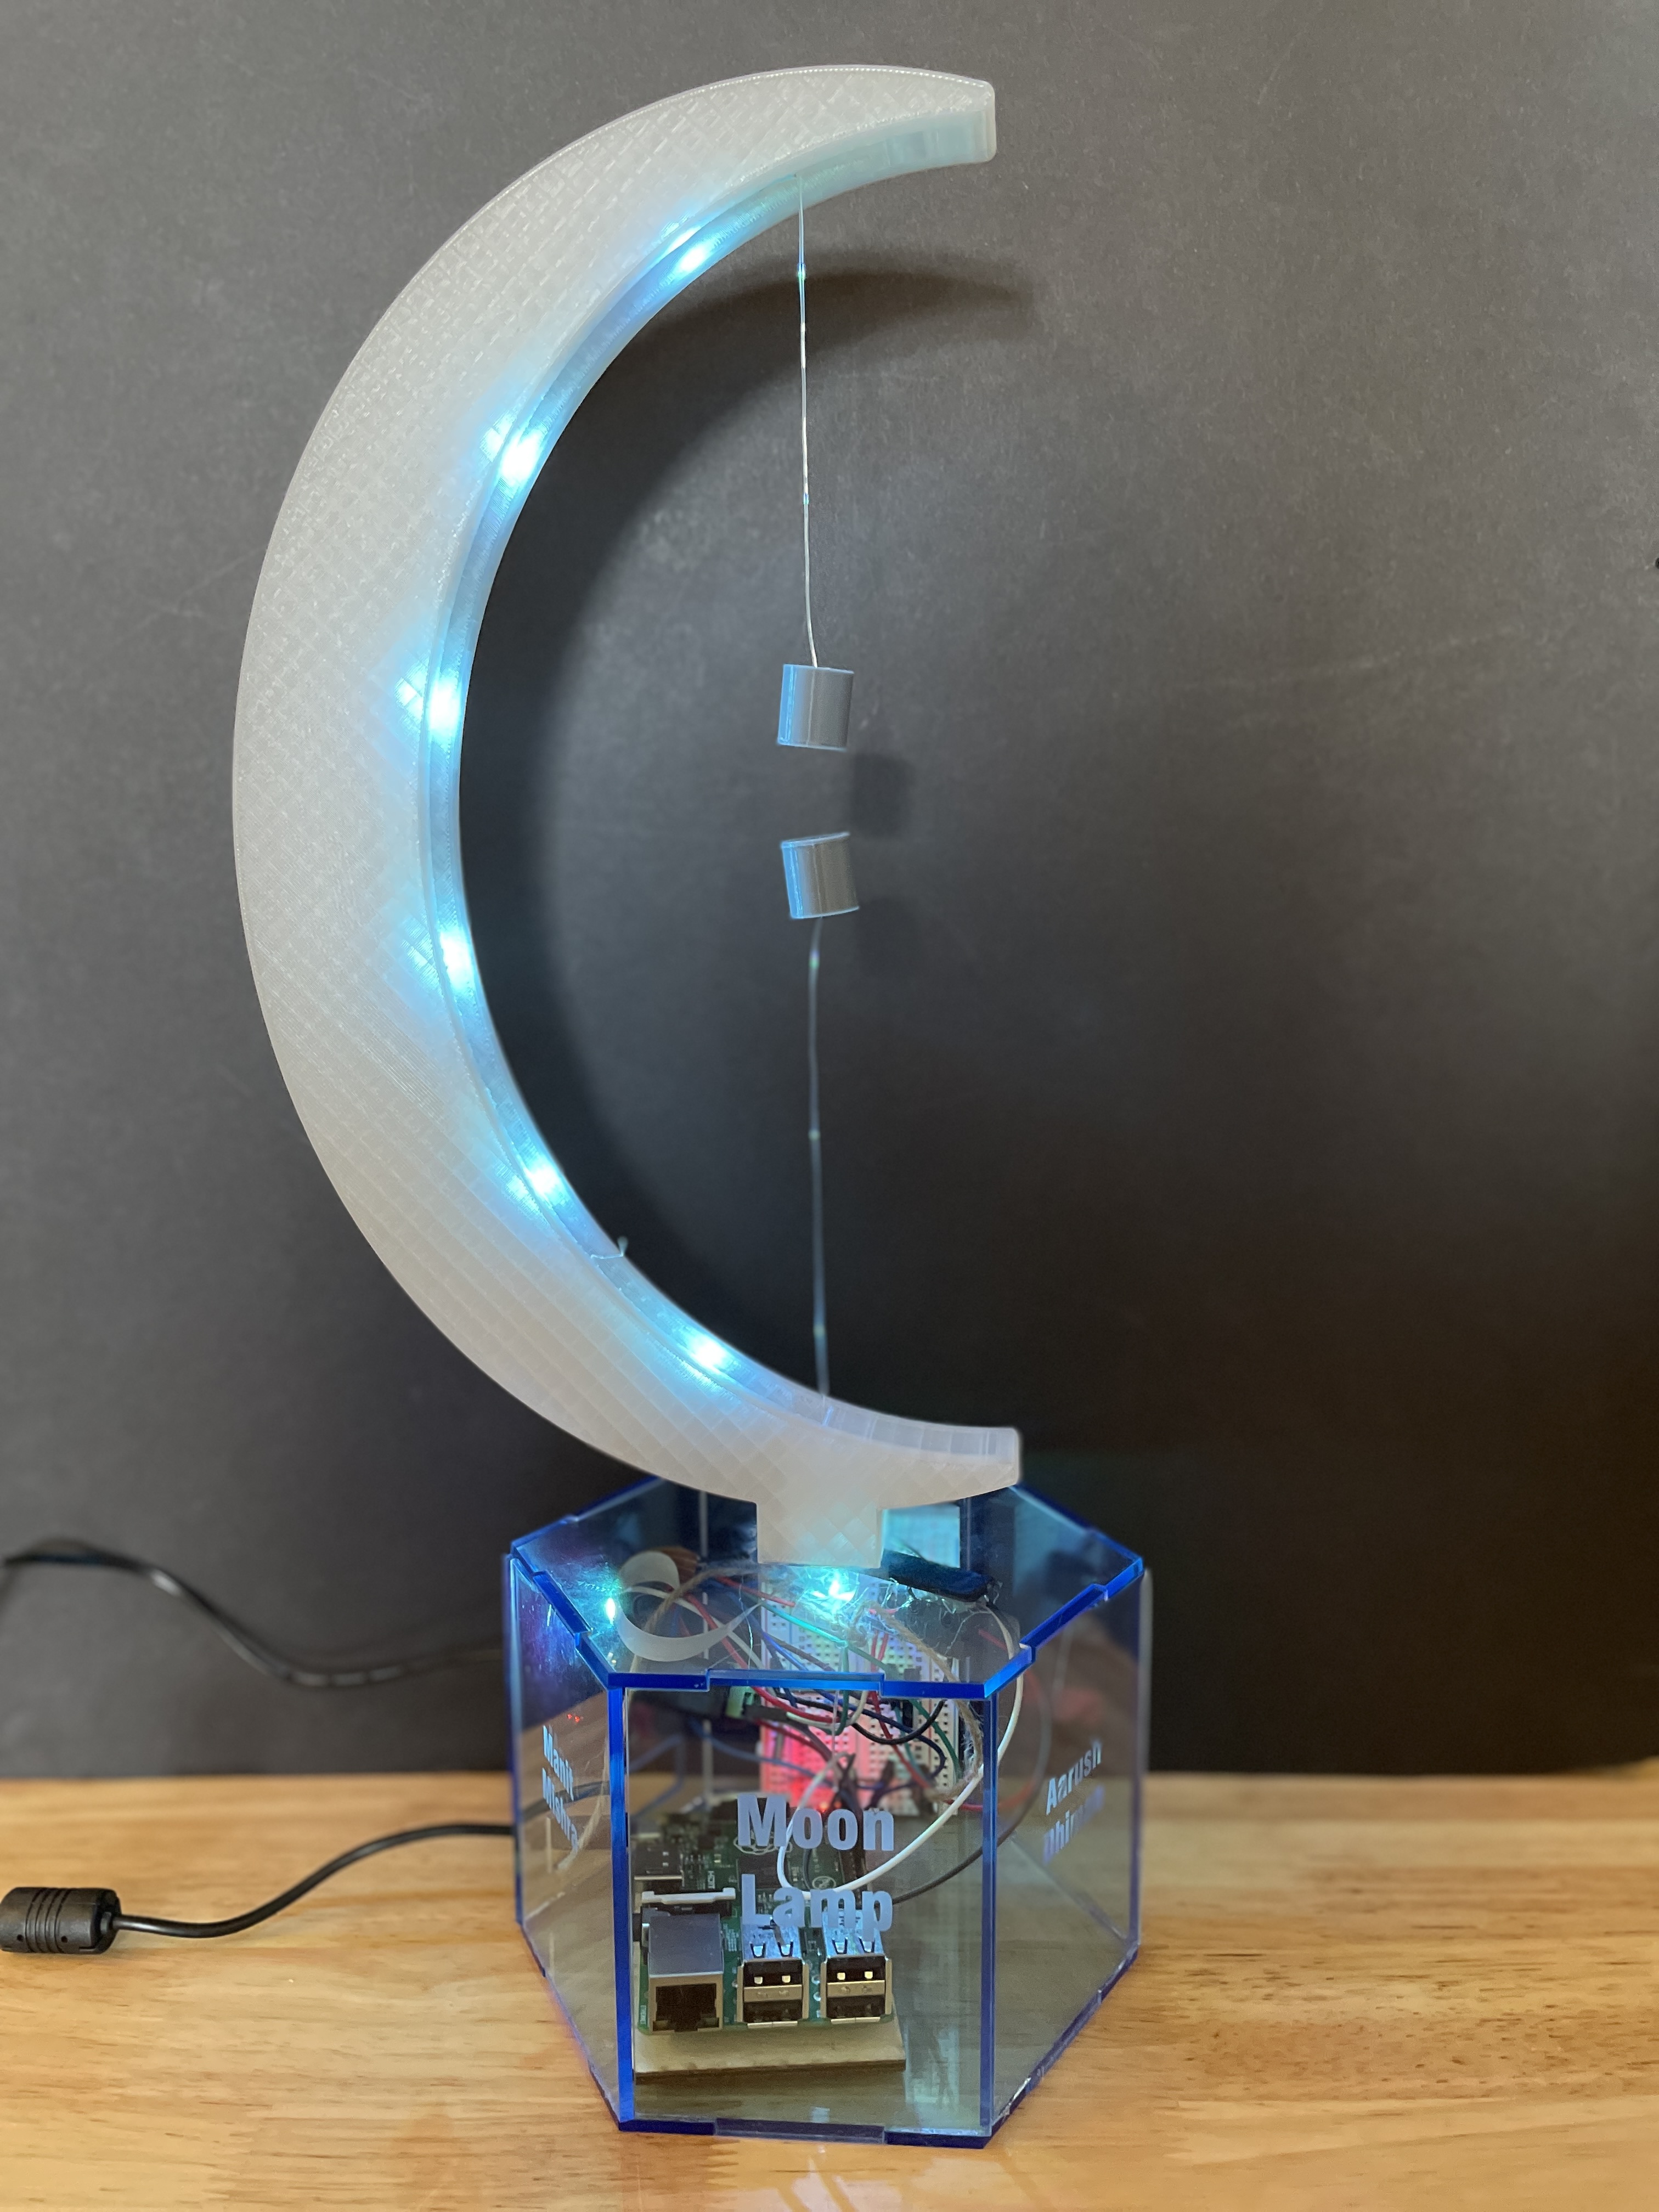
Displayed at Maker Faire 2023
Displayed at City of Fremont Engineering Expo 2024
Introduction
Introducing the Moon Lamp, an innovative project that combines mechanical engineering and software engineering to create not just a lamp, but a conversation starter. Utilizing magnets for an eye-catching display, this lamp is a statement piece perfect for any room.
Supplies Needed
- Raspberry Pi 3B+
- Jumper cables
- Bread Board
- MOSFET
- LED Strip
- 3D Printer (We used a PRUSA XL)
- Fishing Wire
- Hot Glue, Contact Adhesive, Acrylic Cement
- HDMI Cable
- 8x Circular Neodymium Magnets
- Plastic Clamps
- 1/4 inch wood and Acrylic
- Power Adapter
- Autodesk Fusion 360
Building Process
Step 1: Creating a 3D Moon
Insight: Opted for a 3D-printed moon using Prusament Galaxy Silver to match our vision. The process involved designing in Fusion 360, extruding a crescent shape, and preparing the model for printing.
Assembly: Gluing the two printed halves together and securing them with clamps.
Step 2: Cork & Magnet Assembly
Purpose: To house the magnets with precision for effective attraction.
CAD/Design Process: Measurements were taken, and designs were adjusted in Fusion 360 to fit the magnets snugly.
Assembly: Magnets were placed inside the cork, which was then sealed with adhesive.
Step 3: Laser Cut Box
Purpose: To create an aesthetically pleasing housing for the components.
Process: Designed with Maker Case and cut from acrylic, ensuring space for component visibility and access.
Step 4: LED Strip Setup
Setup: Involved cutting, soldering, and configuring an LED strip with MOSFETs and resistors for safe operation with the Raspberry Pi.
Step 5: Limit Switch Mechanism
Component: A crucial element that activates the lamp's lights upon magnetic contact.
Step 6: Raspberry PI Code
Utilized the PIGPIOD library for LED control, highlighting the software engineering aspect of the project.
sudo apt-get install build-essential unzip wget
wget http://abyz.me.uk/rpi/pigpio/pigpio.zip && unzip pigpio.zip && cd PIGPIO && sudo make install